Editing samples
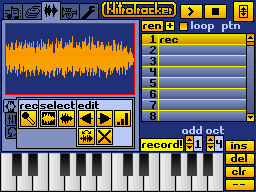
Let's go a little deeper into how you can modify and tune your samples in NitrousTracker. Start off by tapping the sample tab. Then, tap the microphone and record something.
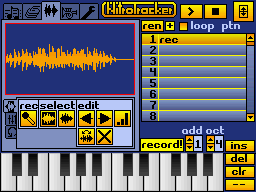
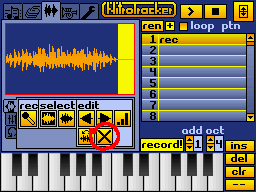
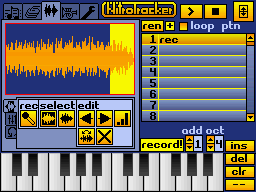
To cut off silence in the beginning and the end, select the part you want to cut off and press the delete button.
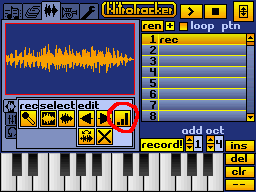
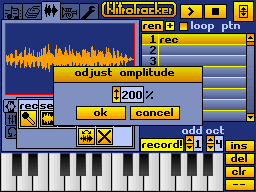
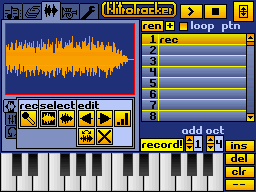
If your sample is too quiet, you can simply increase the volume. Press the normalize button, then increase the ampilitude value and press ok.
If your sample starts or ends too abruptly, you can use the fade feature. Just select the region that you want to fade and press the fade in or fade out button.
To make a sample go on forever, you can make it play in a loop. There are two types of loops: forward and ping-pong loops. Forward loops just play back the selected part of the sample again and again, while ping pong loops play back the part forward and backward. This usually makes loops smoother and avoids clicking when playback is continued at the beginning of the loop.
To add a loop, go to the sample tab, and then to the loop tab below the sample viewer.
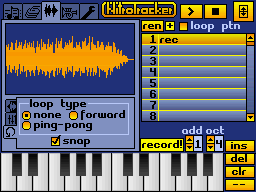
Select forward and you'll see two markers appear, marking the beginning and the end of the loop. Move the markers and listen to your sample to find a loop that sounds good. Select ping-pong to hear how it changes the sound.
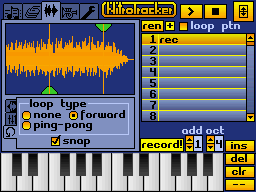
NitrousTracker automatically tries to avoid clicking loops by moving the loop points to the closest zero crossing. You can turn this off by un-checking the snap checkbox.
In the tuning tab, there's a bunch of values you can tweak to tune your sample.
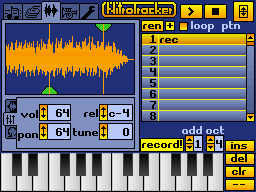
- vol changes the sample volume
- pan pans the sample between the left and right speaker
- rel selects the relative note of the sample (see below)
- tune finetunes the sample pitch up or down
An often misunderstood (and admittedly quite idiotic) concept is the relative note. I didn't invent it, so don't blame me! NitrousTracker assumes that whatever sample you load or record corresponds to the note C. Of course often this won't be the case, especially for recorded samples. To fix this, use the relative note note setting. This setting specifies the note that is mapped to the C-4 key on the keyboard. Play around with relative note and finetune until the C-4 key corresponds to the note C-4.
It's also possible to save your samples as wav files. Just go to the disk tab, select smp, enter a name for the sample and press save.
That's all there is to samples in NitrousTracker. But since samples are only the building blocks for instruments, it's also important to know how to use the instrument settings, which is going to be covered in the next section.